Hello all,
I hope the new year is going okay for everyone so far. Mine has not been without some excitement (i.e drama) but I’m (mostly) always grateful to be alive and healthy.
Tonight I’m blogging about some DIY-ing I did a little while back. I’ve always been a bit of a DIY-er, even before I knew that term existed. Now I embrace the culture, I love it! As I mentioned in an earlier post I have taken to making many of the gifts I give, mostly because I love doing it and feel it’s more personal but also because when done with a bit of thought, it’s actually cheaper than most store bought stuff.
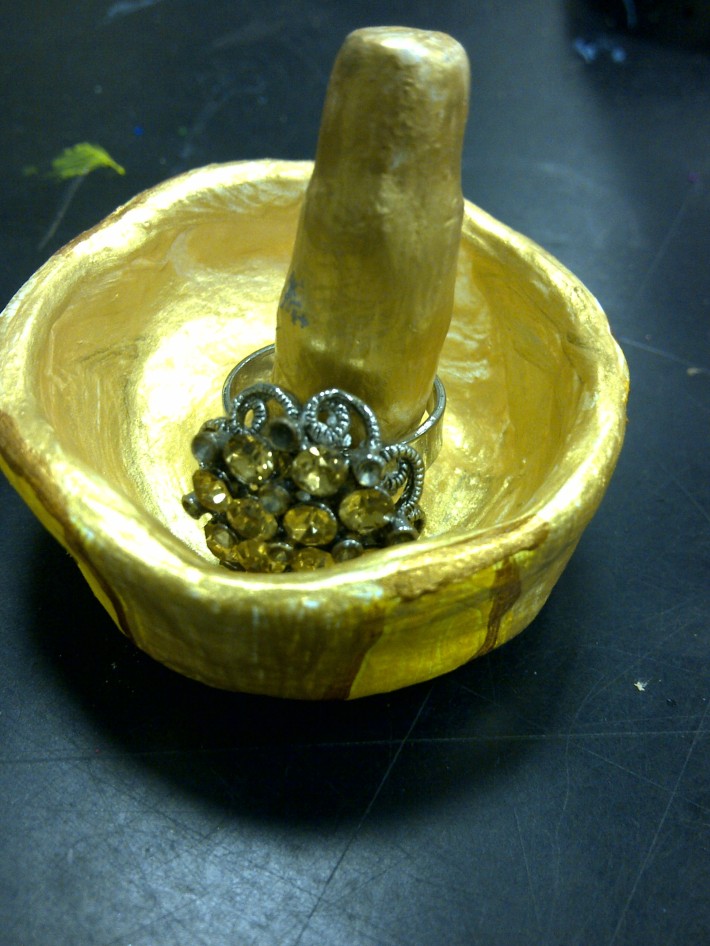
2 Christmases ago, I gave 3 of my female friends jewelry holders that I made and decorated myself.
MAKING OF THE HOLDER
If only I had anticipated all that time ago that I’d blog about this someday then maybe I would have whipped out my camera and taken shots from start to finish, but alas I did not. So I’ll show you what I have:
I used clay (as in real clay from the earth- which I bought not personally dug up or anything) Any durable variant of modeling clay found in a craft store should do.
Here is where the pictures (mercifully) begin:
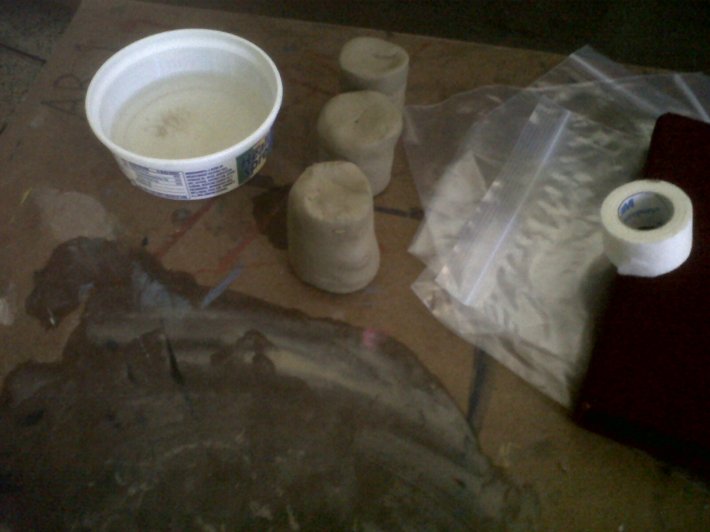
Those are my pieces of clay and a bowl of water for working with. The first thing I had to do was knead the clay relentlessly in order to make it easy to work with and more importantly remove all the air bubbles which if left, would compromise the integrity of the piece once dry.
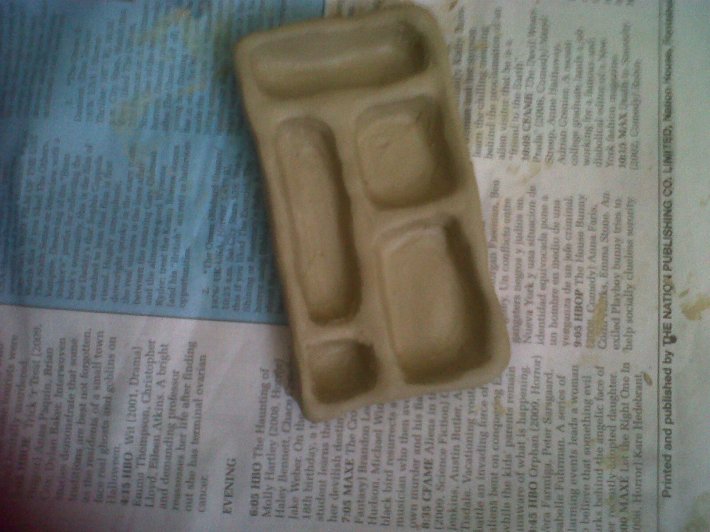
Then I rolled the clay into long cylindrical pieces and coiled them while scoring the edges to form the shape I wanted.
After that, using my fingers and some water I smoothed and smoothed until the surface was….well..smooth. Then I let them dry (I left them for months but it only took a few weeks). Whatever material you use, make sure it’s completely dry before proceeding to the next step:
Many moons later when I was ready for them I got back out my now very dry handmade jewelry holders (at a cost of mere cents each) and got ready to make them special.
If you know a bit about clay you’ll realise I didn’t have them fired (it’s still brown and not red) and that’s okay. Firing isn’t necessary for small items like this (and it’s costly unless you have your own kiln and you’re doing these in bulk), once they’re completely dry, it’s fine.
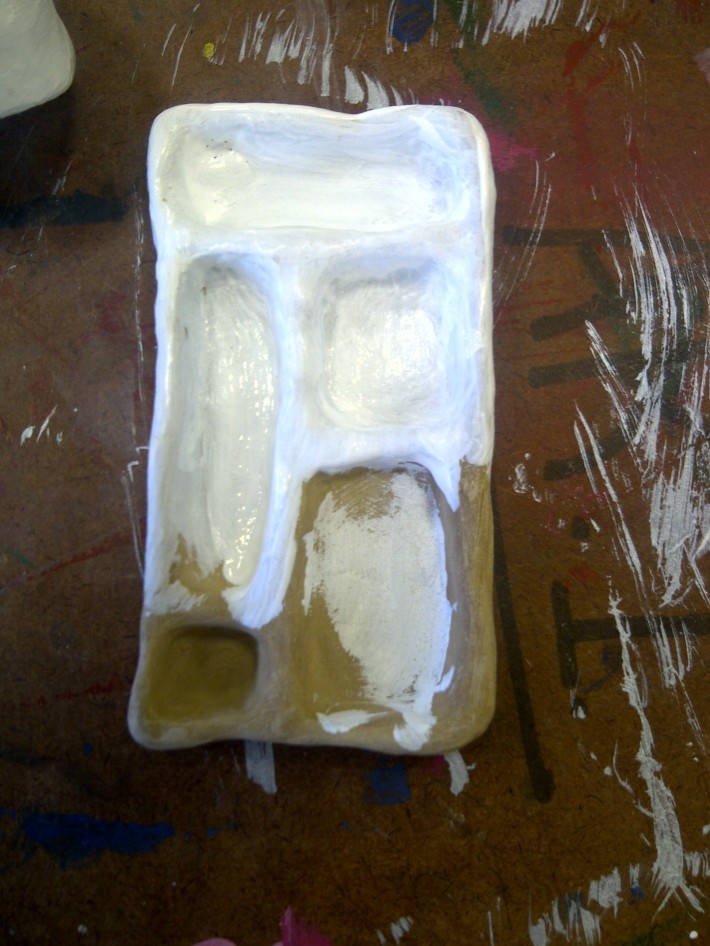
Using acrylic paint, I first painted it white as a base coat, since whatever colour I put over it I want to stand out.
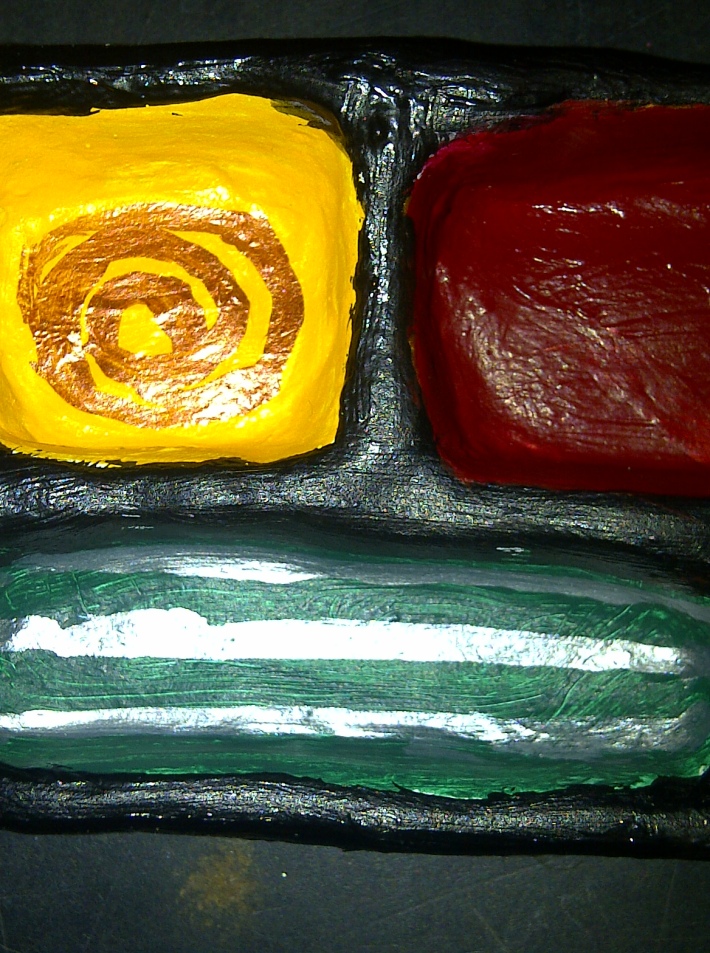
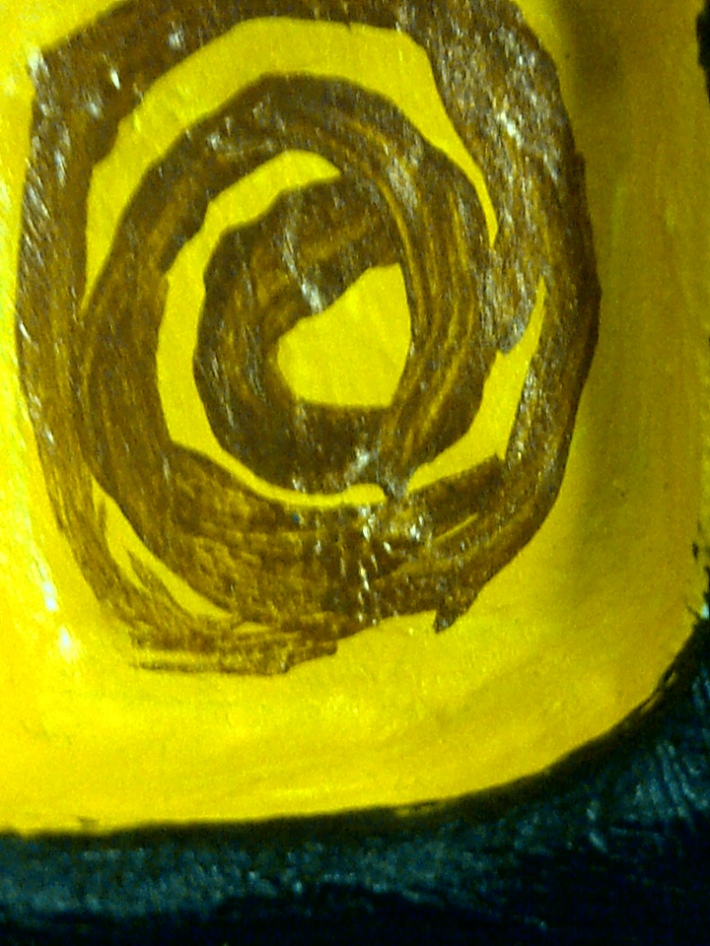
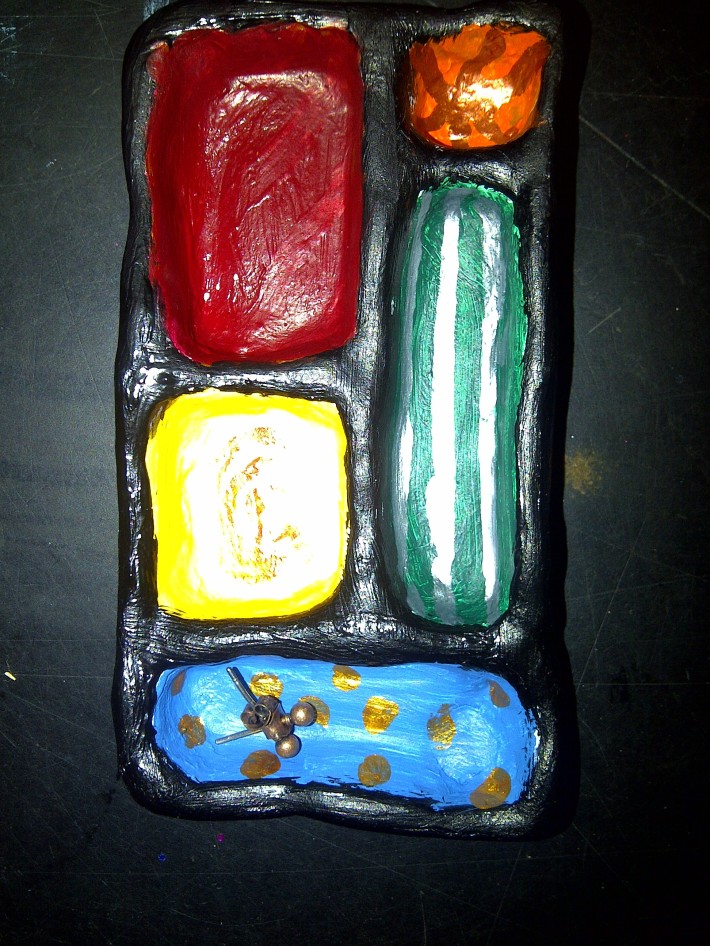
I then painted the outside and all the edges of the compartments black for some contrast to the bright colours I then painted each compartment. I went with a kind of abstract-esque mexican inspired colour scheme but feel free to use whatever colours or style tickles your fancy.
Each compartment was a different vibrant colour.
The full view of the finished product.
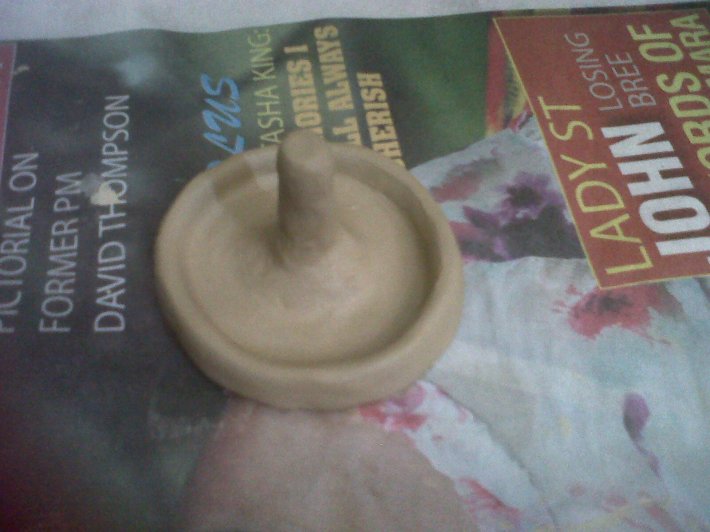
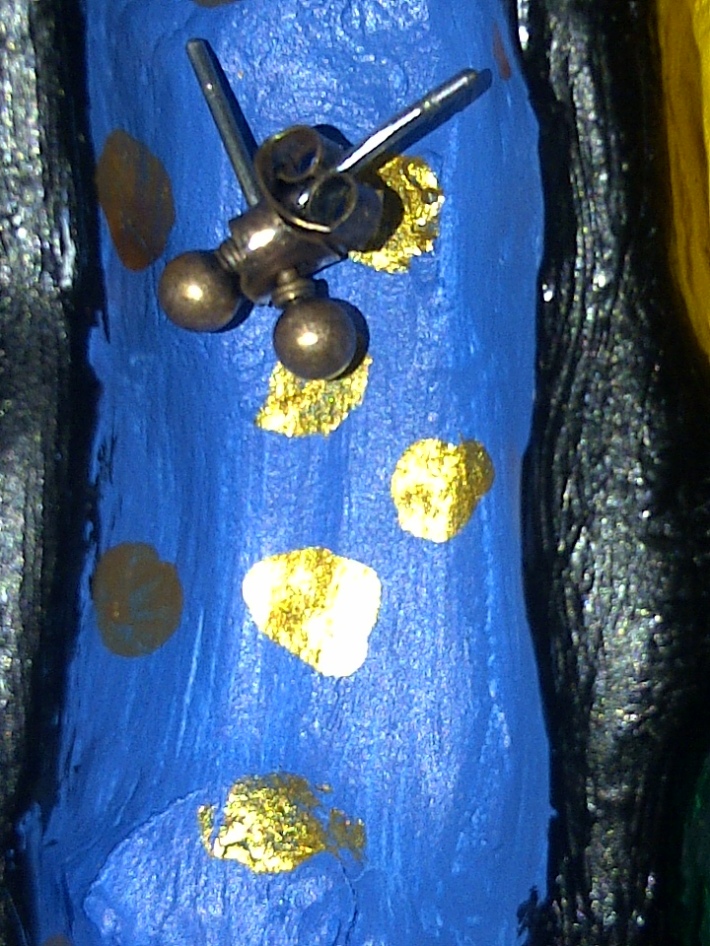
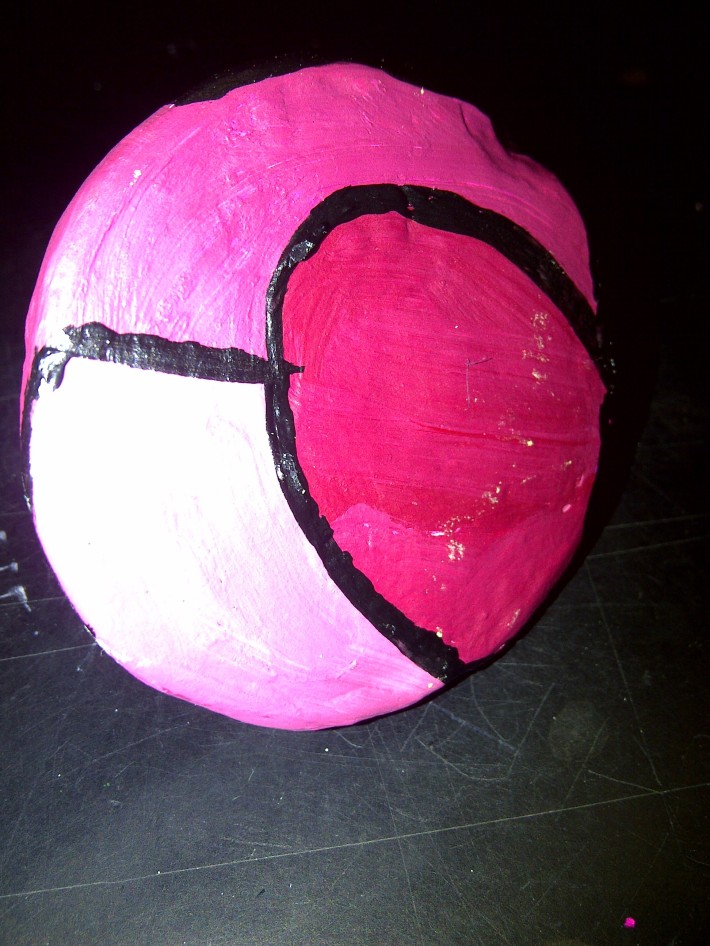
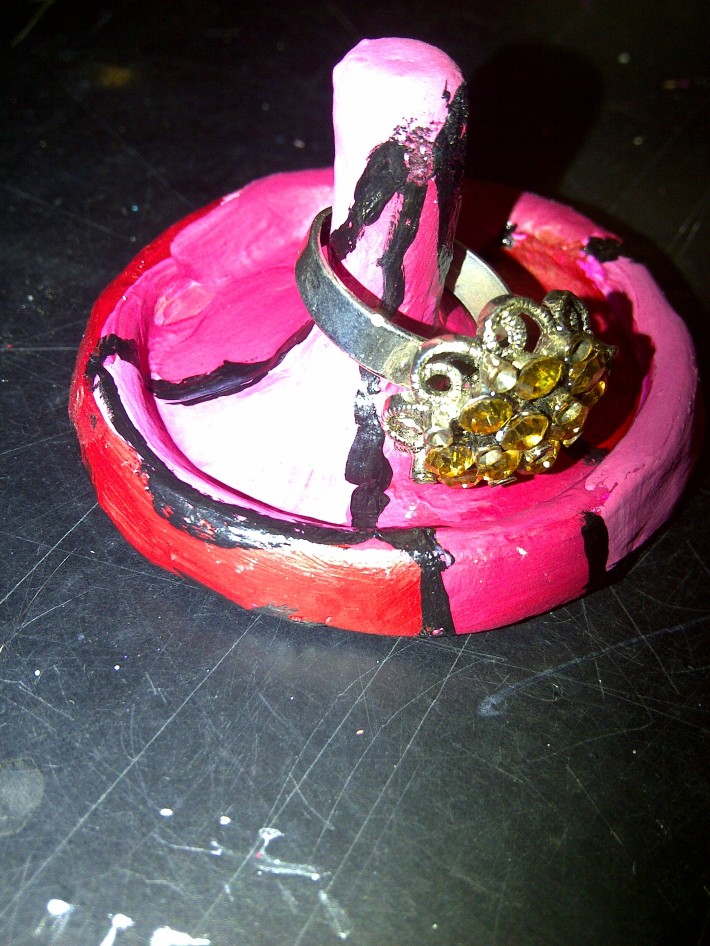
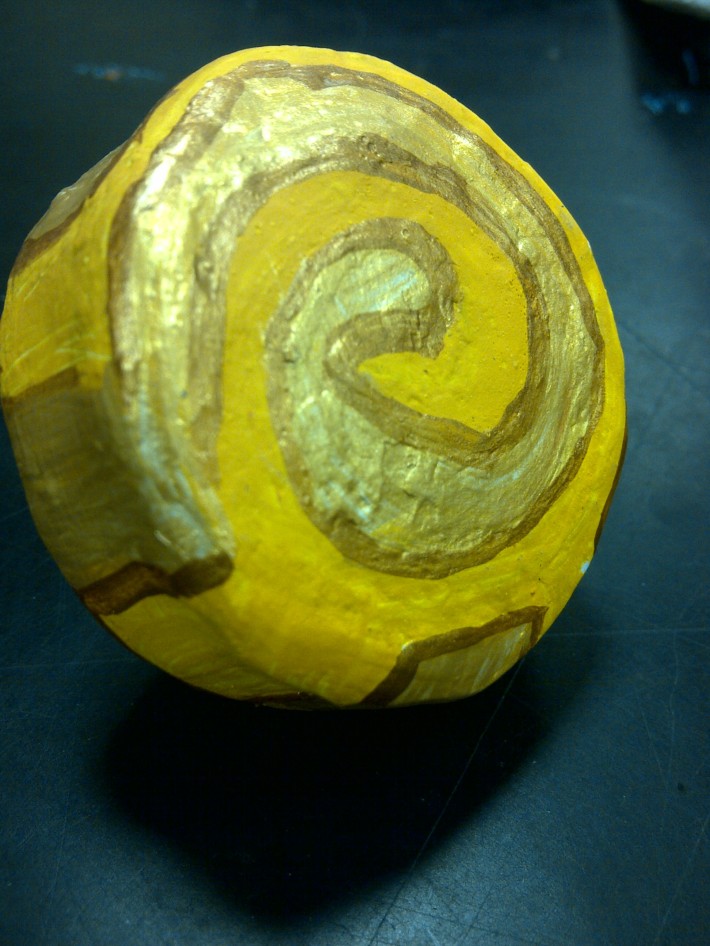
I went for more geometric patterns with these ring holders painting them colours I thought suited the personality of the recipients.
These gifts were beautiful,imperfect,functional,appreciated and one of a kind. And the cherry on top is that they literally cost me under $1 US in materials-very much in keeping with my life on a budget. As for the labour, well it was a labour of love.
I hope this post inspires any DIY-ers looking for something fun,useful and thrifty to give as gifts or even for yourself.
Have an awesome day!

